Lashocracy: The BEST Glueless Lashes Ever!
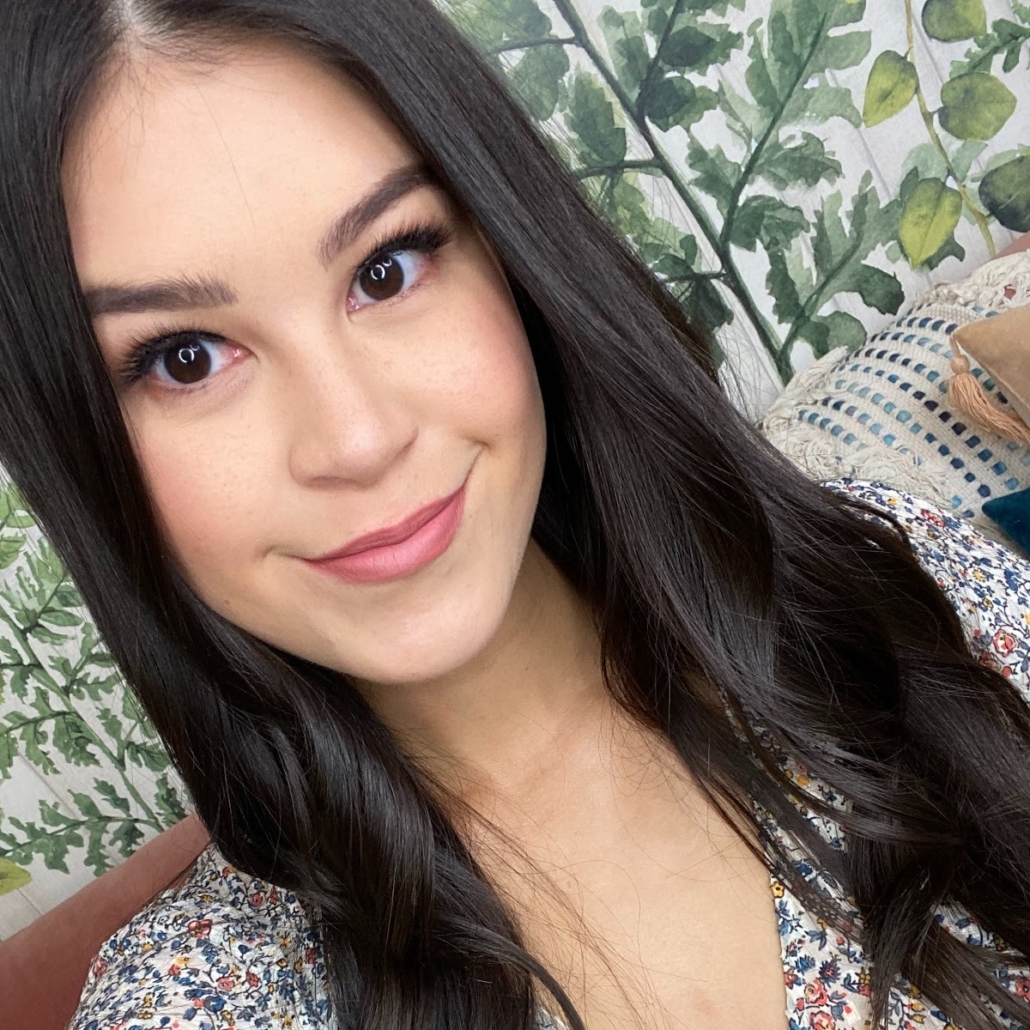
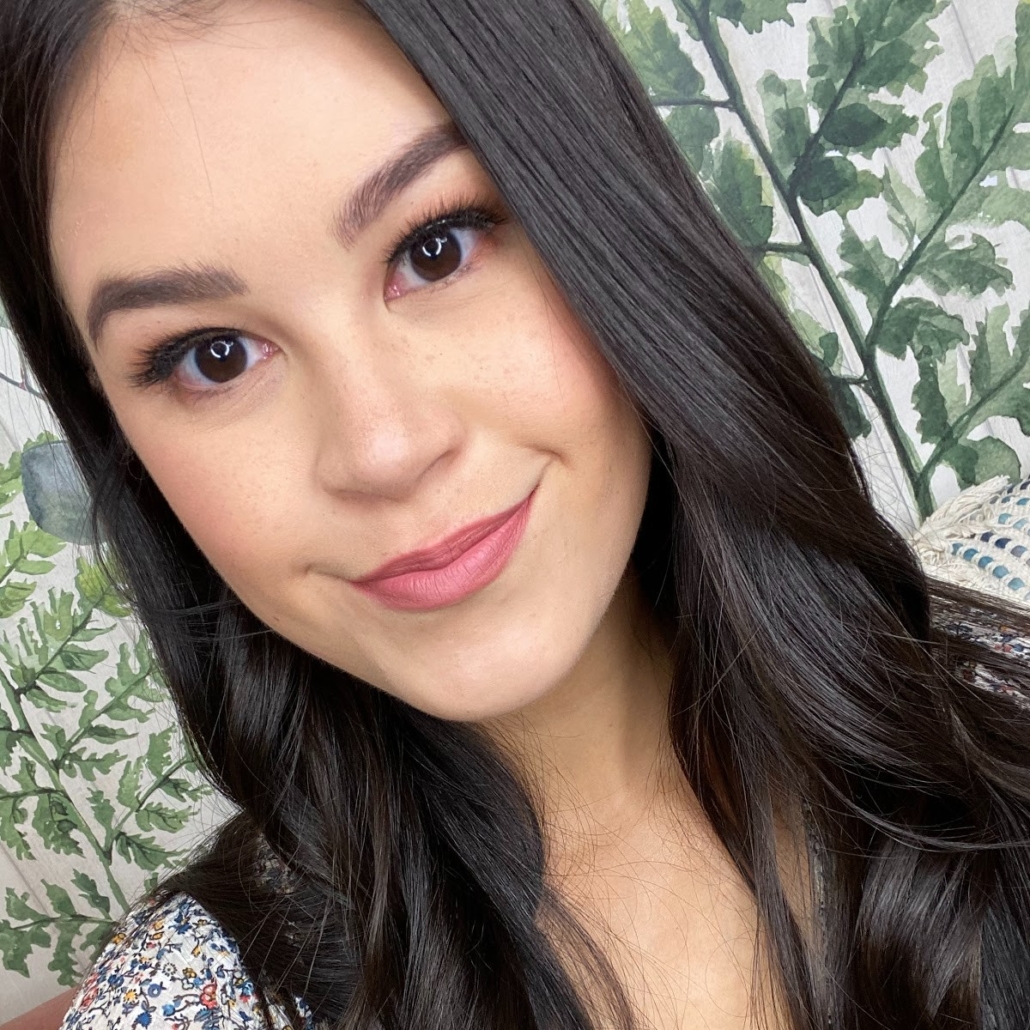
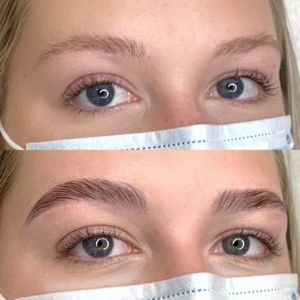
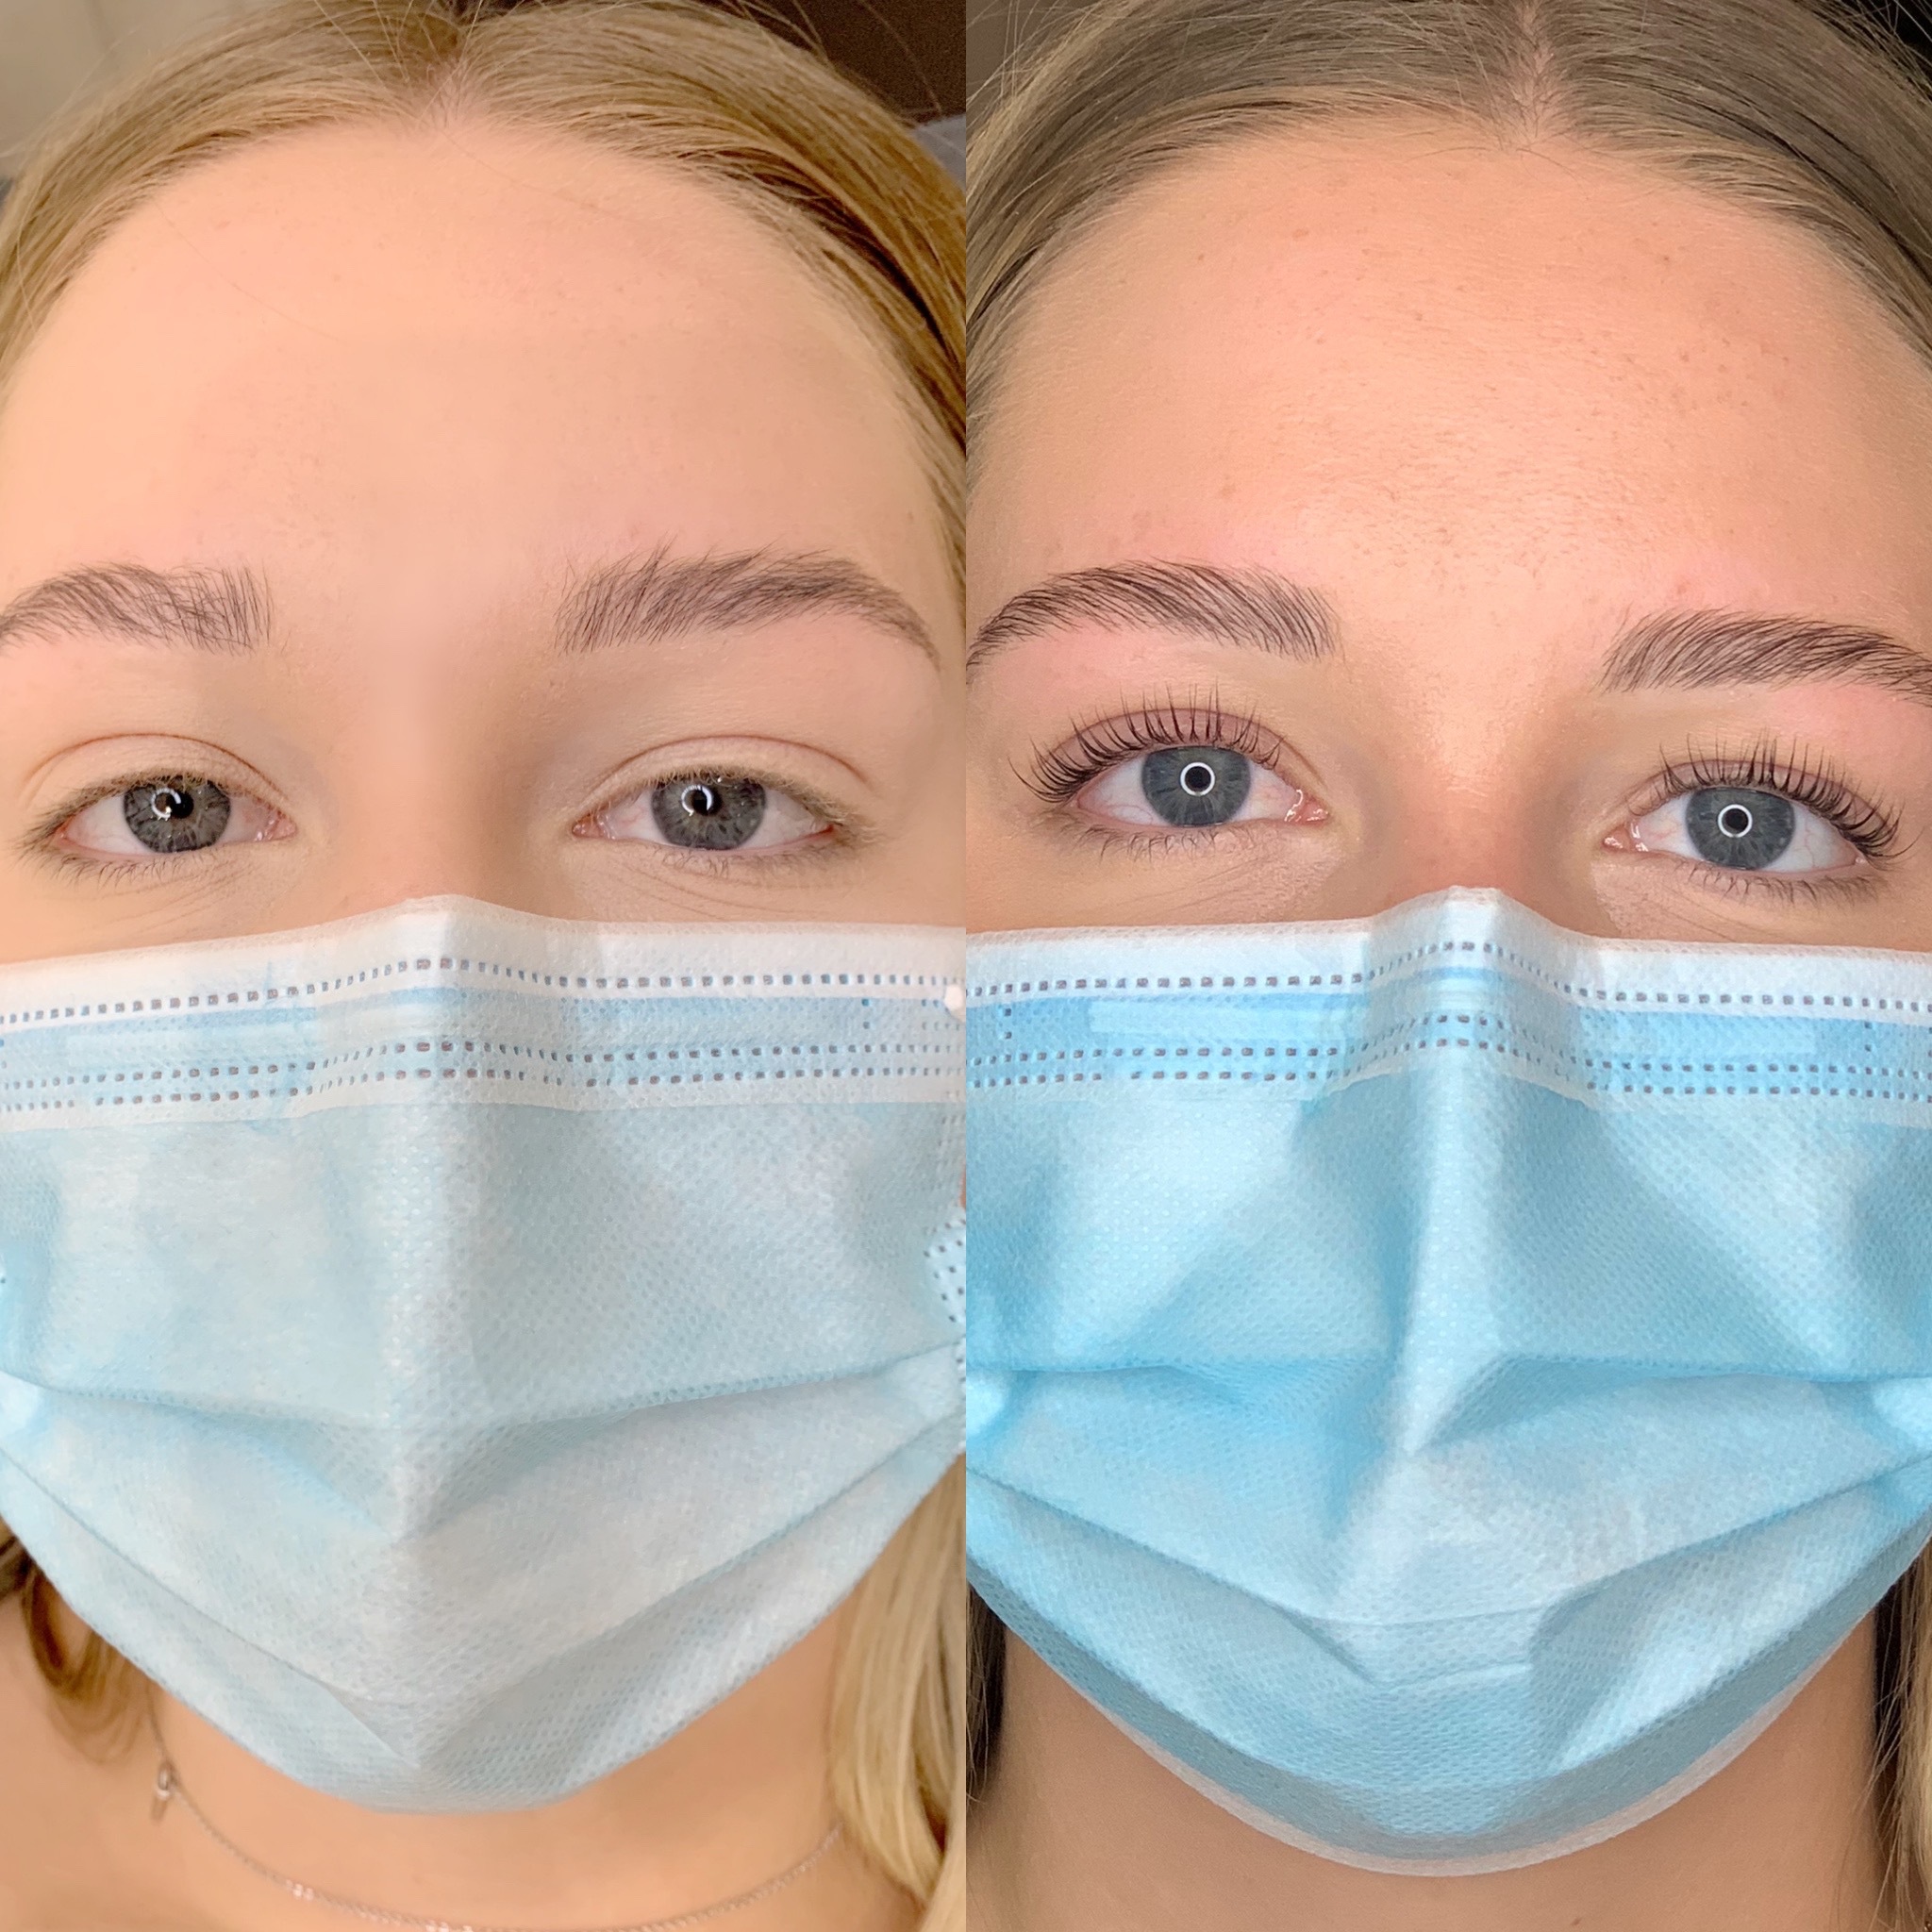
If you have met me or read any of my previous posts, you would know that it is no surprise that I am a lash addict. I’ve worn lash extensions for years and have been loving trying out different lash products while taking a break from extensions. I got a Keratin Lash Lift at Keravie, tried a magnet-free eyeliner system, and now I’m so excited to talk about the newest product that I have been trying out lately – Lashocracy Glueless Lashes! This product is an especially exciting one to talk about as it was created and designed by Keravie studio owner Tammy Ma. In today’s post I am going to go over everything you need to know about these revolutionary lashes and all of my thoughts on them (spoiler – I’m obsessed!).
What are Lashocracy Glueless Lashes?
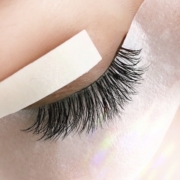
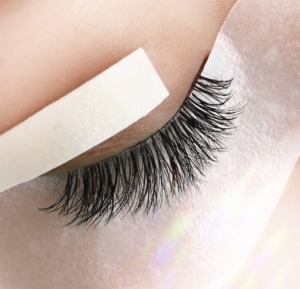
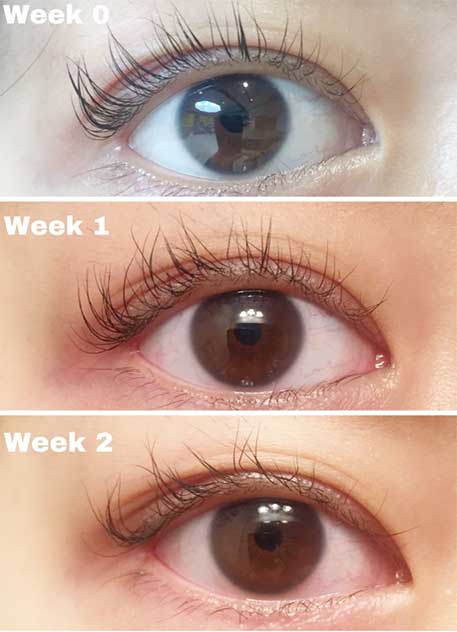
Lashocracy lashes are glueless lashes that can be applied in just one step! They have a tacky band that adheres to the skin and stays put all day long. The sticky band is made with a medical-grade adhesive that is non-irritating to the skin. The band is meant to remain sticky for up to 5-6 wears in which afterwards a regular adhesive or eyeliner adhesive can be used to apply the lashes. The lashes are compatible with regular lash glue and adhesive eyeliner up to 20 times or more even after the lashes lose its stickiness with proper cleaning and care.
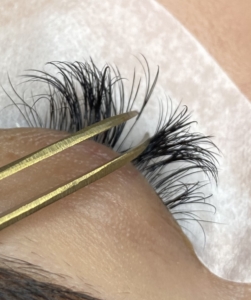
Step 1. Cut lashes to the width of your eyes
Step 2. Gently apply the lashes from the inner to outer corner
Tip: Place as close to the lash line as possible
Clean: Use a damp Q-tip and gently remove makeup and oils. Air dry.
My Thoughts
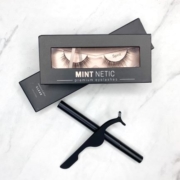
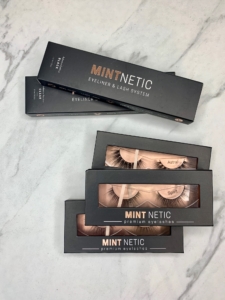
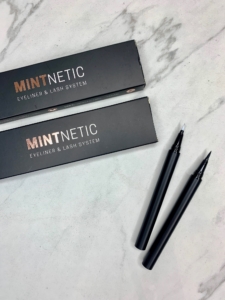
Application – These lashes are SO easy to apply – they truly are just one step! Just when I thought applying false strip lashes couldn’t get any easier after trying the MINTnetic eyeliner lash system, the Lashocracy Lashes take the cake as far as ease of application. It is so nice to not have to fuss with applying lash glue and waiting for it to dry. I highly recommend using a lash applicator such as this one to make application even easier.
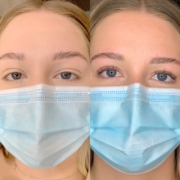
Wear – The adhesive on the band of these lashes is no joke, they are super sticky. While I have only worn the same pair of lashes for a total of 3 days, the adhesive on them is still going strong! I love that I don’t have to worry about my lashes coming off throughout the day or carrying lash glue with me. I also like that even once the stick of adhesive wears off I can still wear the lashes with normal adhesive and get good use out of them!
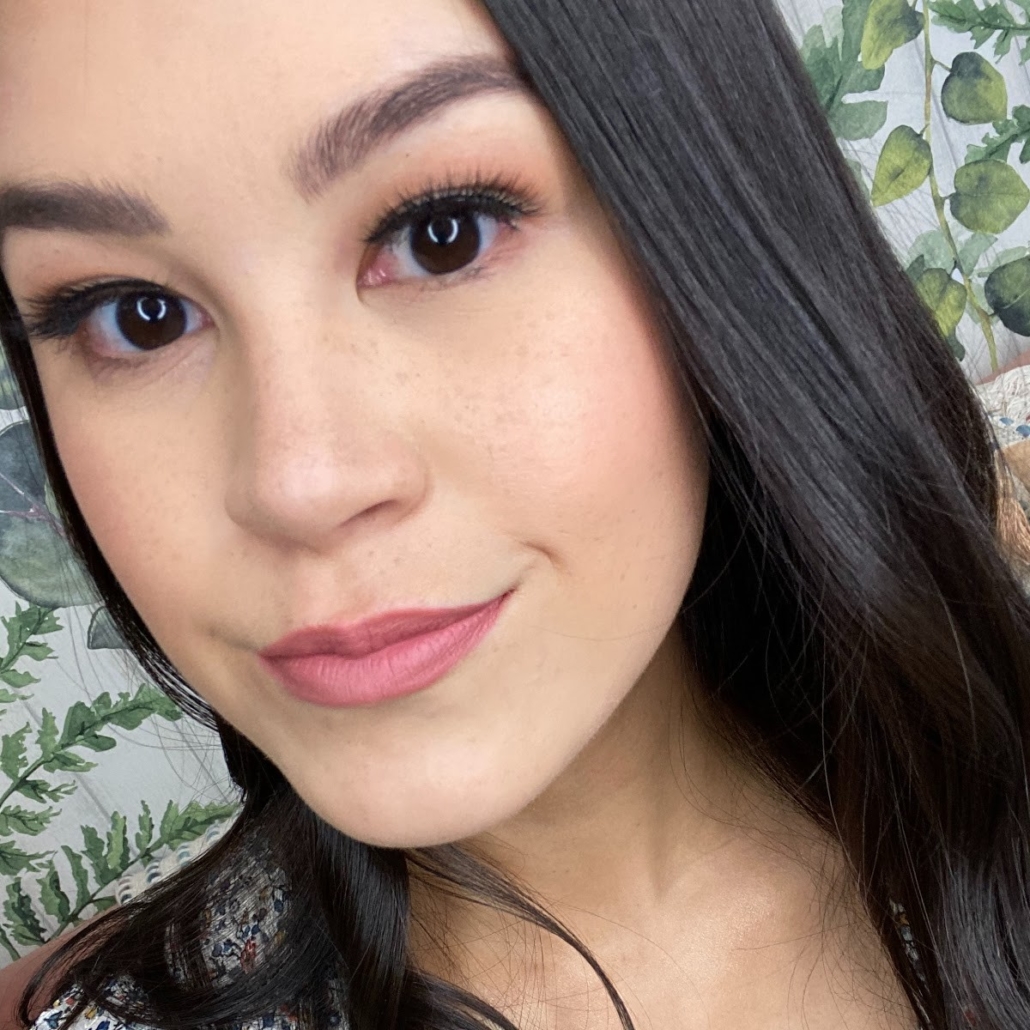
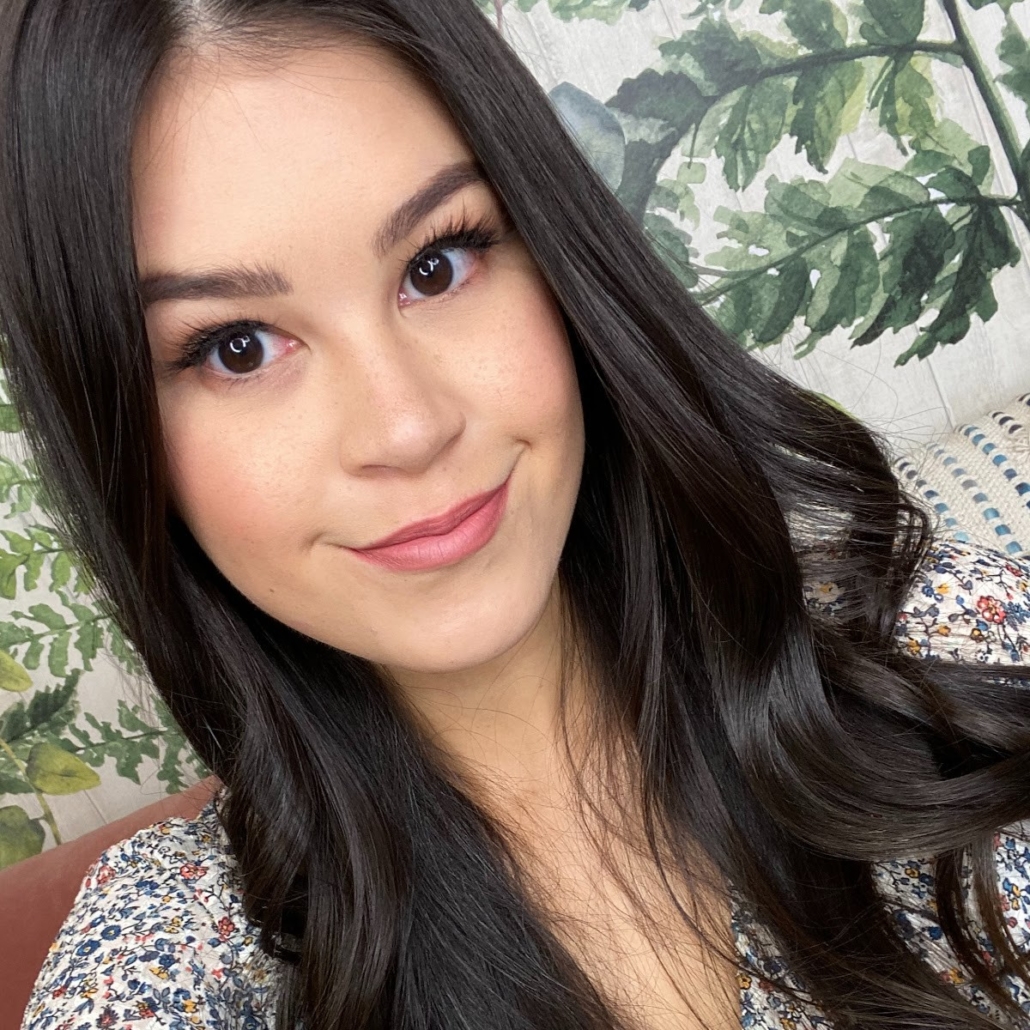
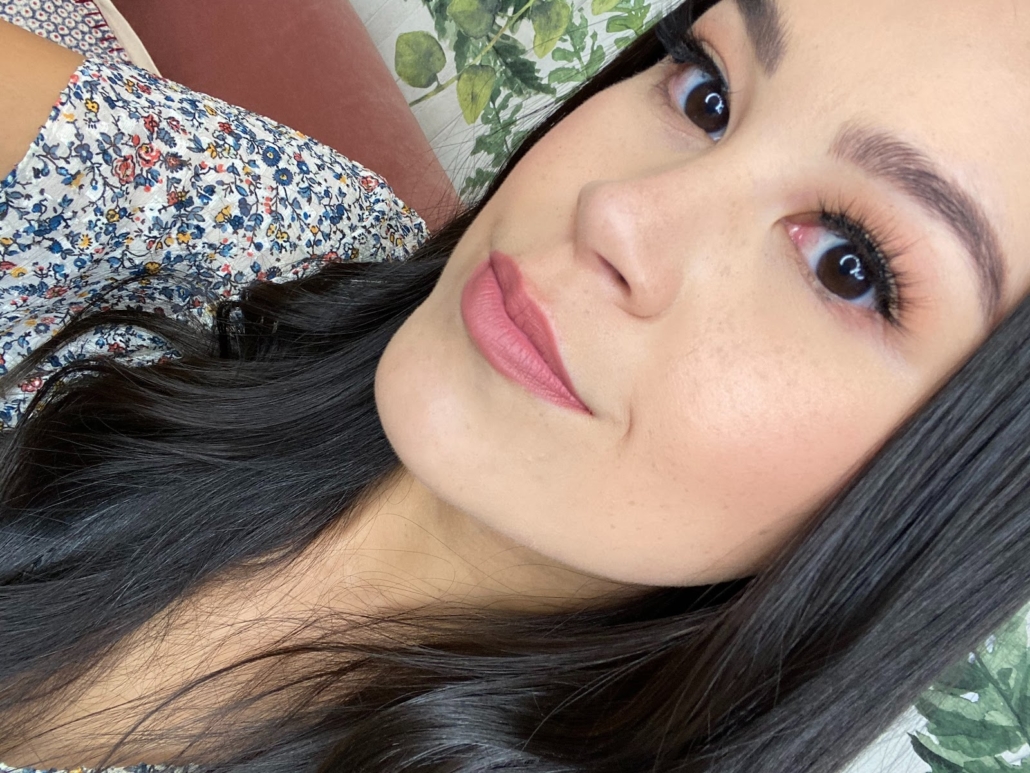
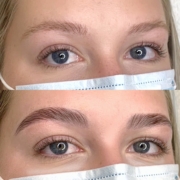
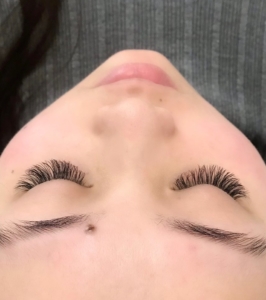
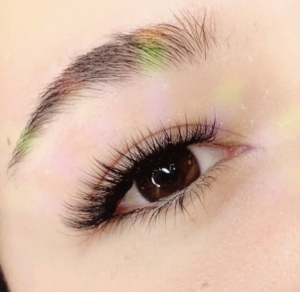
Look – If you are a lash extension lover (or not) – you will love how these lashes look. They are vegan faux mink lashes so they look and feel extremely soft, fluffy and natural. The band is definitely on the thicker side which makes the lashes super high quality and durable while mimicking the look of eyeliner so that you can go without if you wanted!
Lastly, one of the things I love the most about the Lashocracy Lash Collection is that they come in so many different styles for diverse eye shapes and occasions. You are absolutely sure to find something that best suits your style and eye shape! The lashes come in eight different styles, ranging from very natural to dramatic, shorter/longer, cat eye/doll eye, wispy/not wispy etc.
Below are the styles that I tried out (Sugarcoated, Pretty Little Thing, Dreaming in Blush, and Angel Face Devil Thoughts). Below is a video of me applying the lashes and some up-close footage of what the lashes look like on! This is the fourth time I’m wearing them now so I’ve already gone through the step of cutting them to the length I want on my eyes:
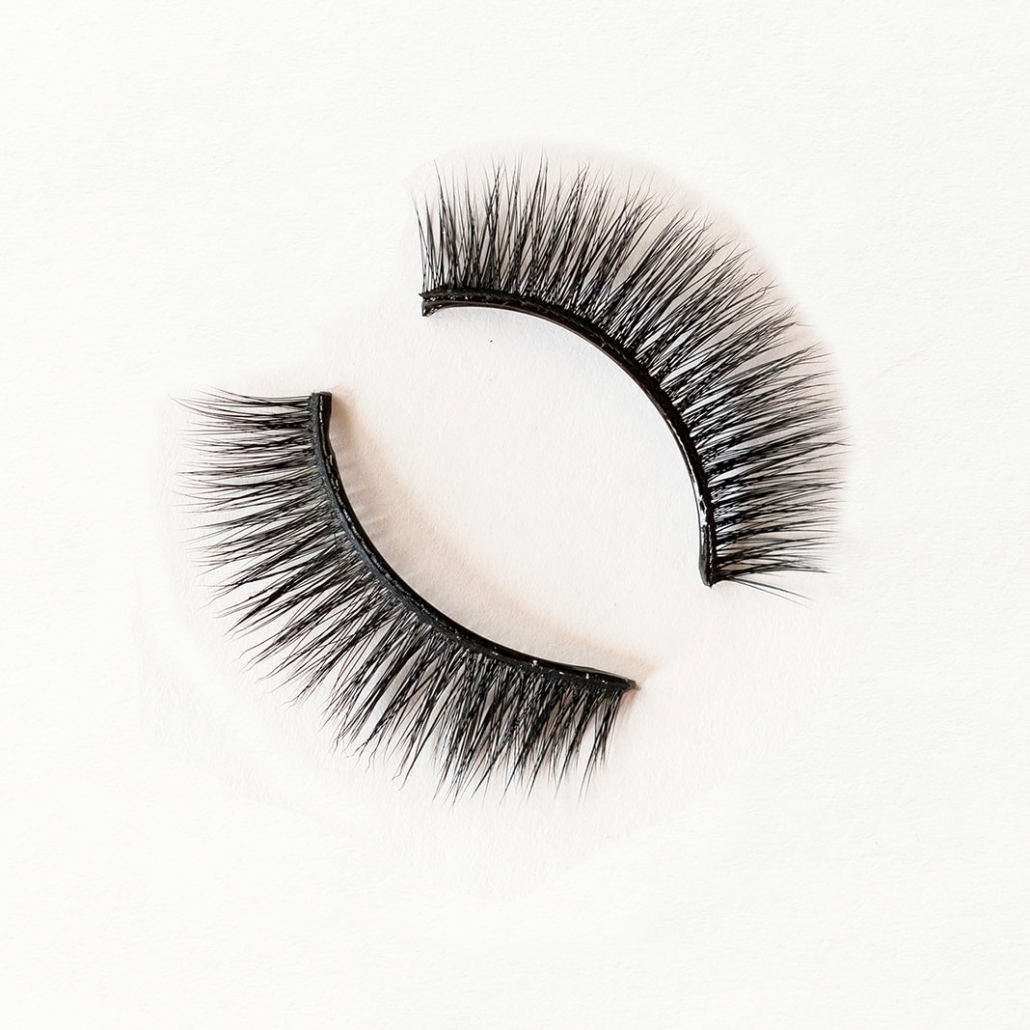
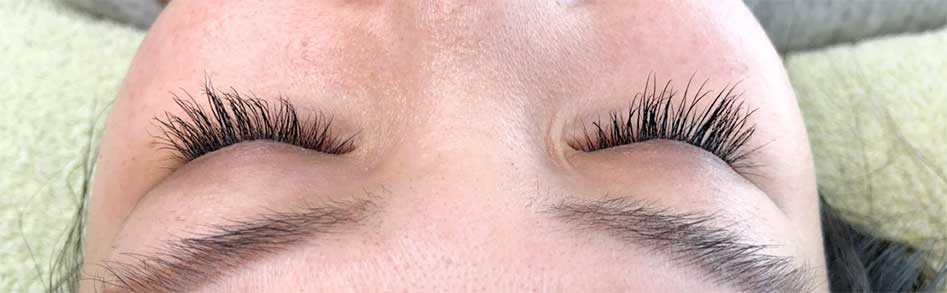
Sugarcoated
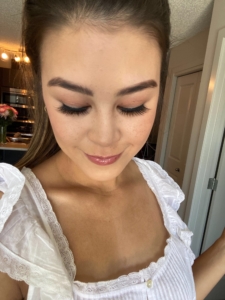
These are the first that I tried and they might be my favourite! They are one of the more natural styles yet the cat eye shape gives just the right amount of flirtiness.
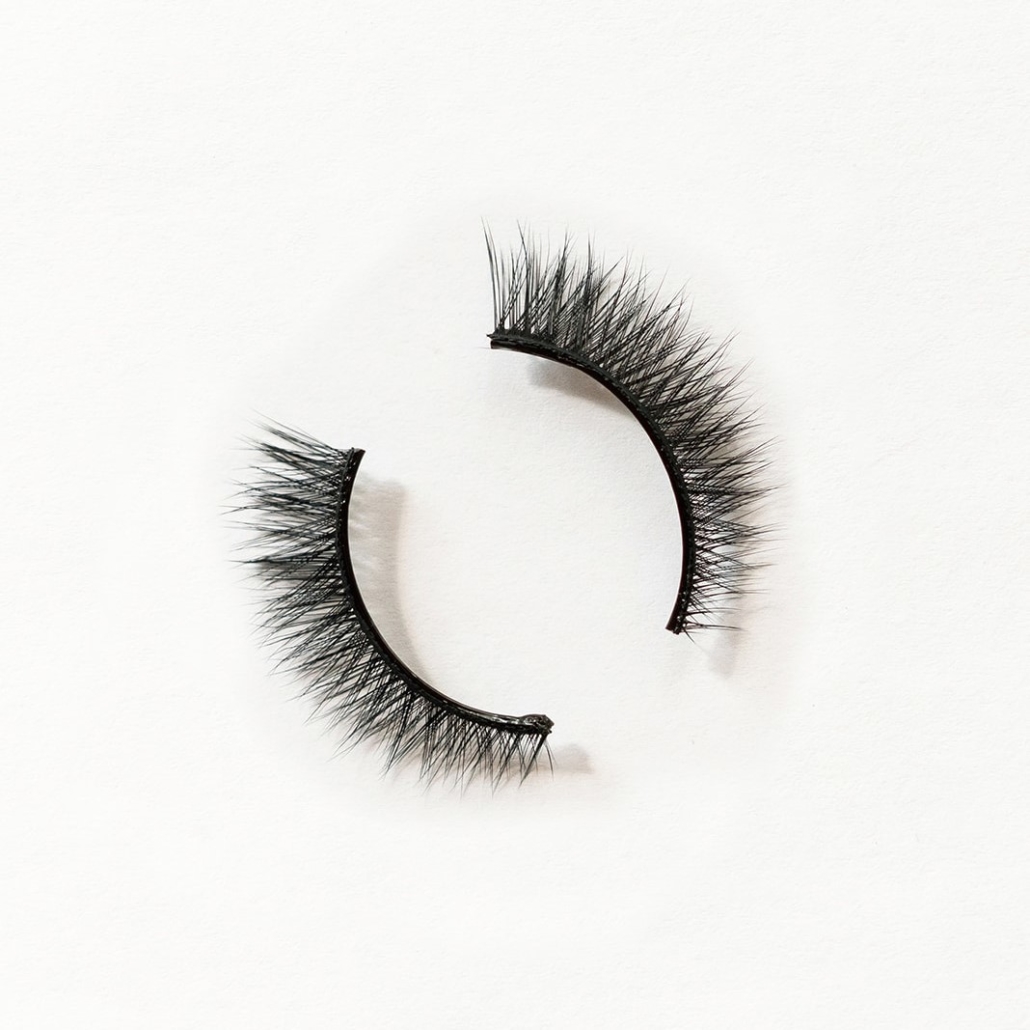
Lashocracy Glueless Lashes in Sugarcoated

Lashocracy Glueless Lashes in Sugarcoated
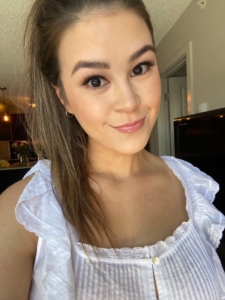
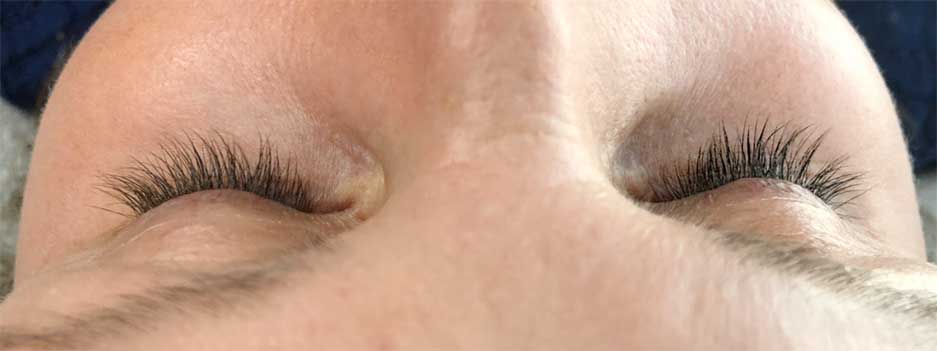
Pretty Little Thing
These are the most natural style of the bunch. They are a rounded doll eye shape and would be great for those who are just starting out with lashes or for those no-makeup makeup days!
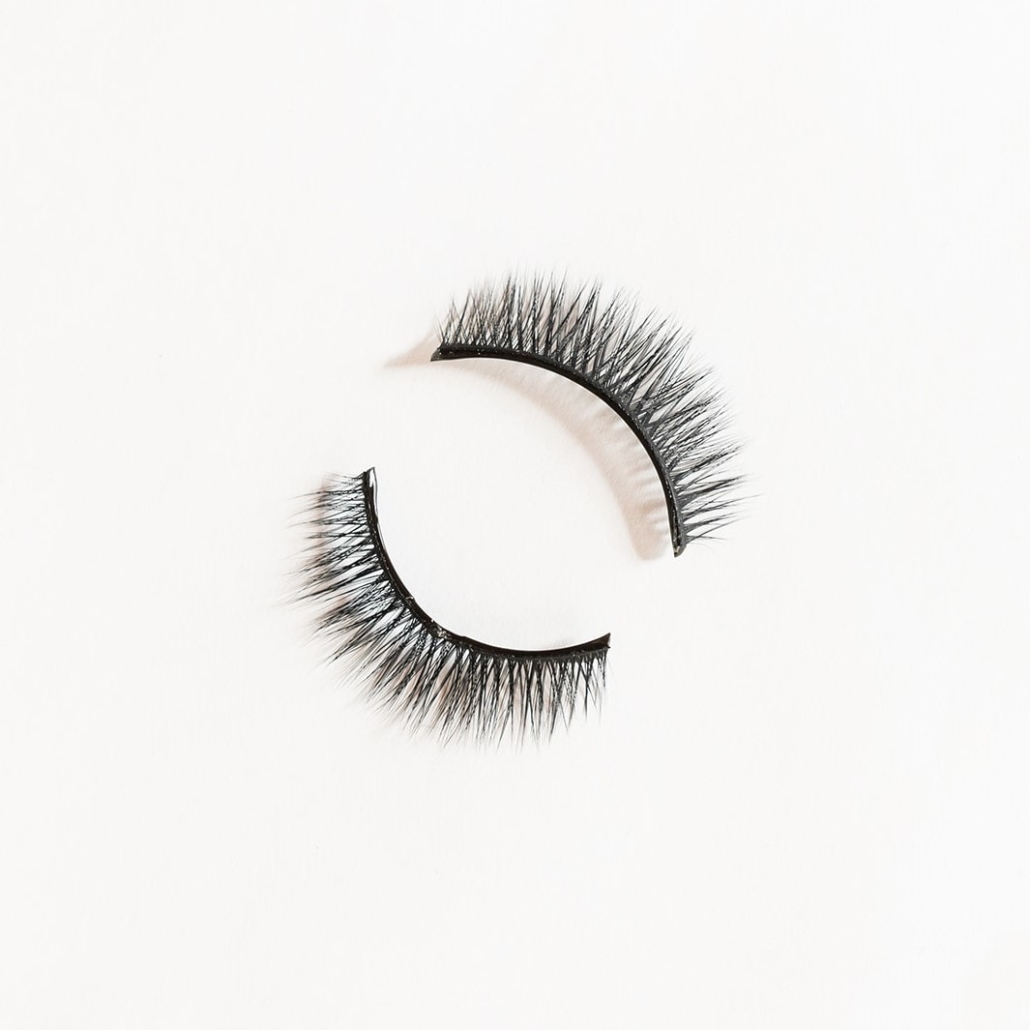
Lashocracy Glueless Lashes Pretty Little Thing
Lashocracy Glueless Lashes in Pretty Little Thing
Lashocracy Glueless Lashes in Pretty Little Thing
Dreaming in Blush
These are a great “natural yet noticeable” style. They are definitely a longer and fuller lash style without being over the top! These would be great for either day or night wear.

Lashocracy Glueless Lashes Dreaming in Blush
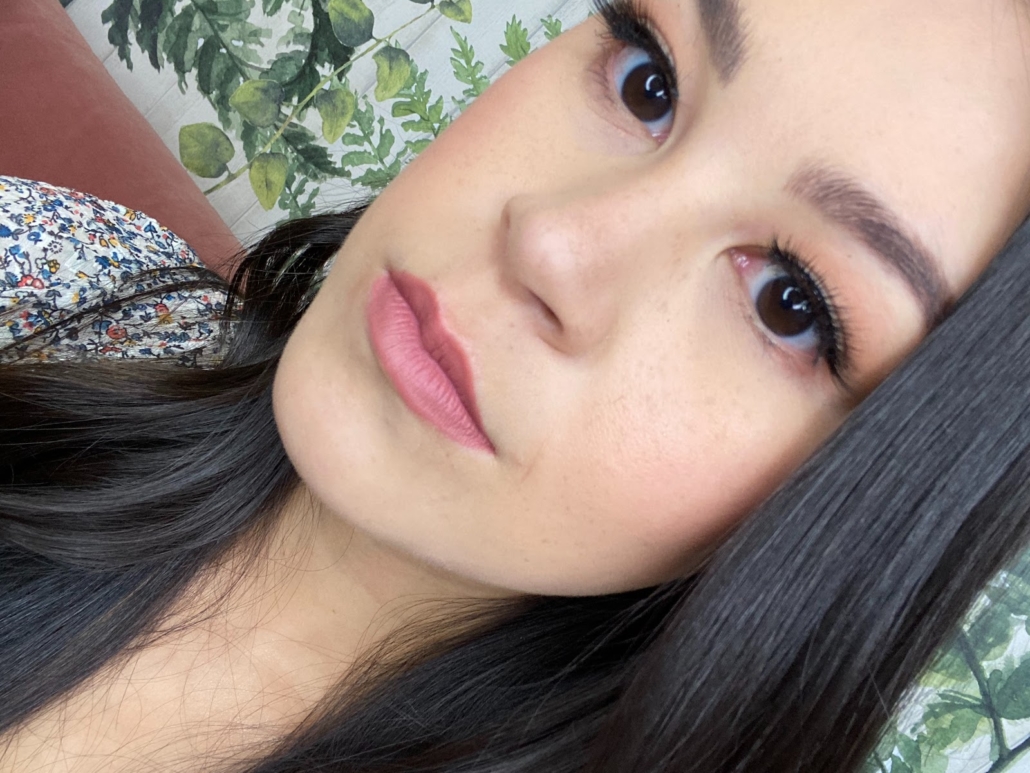
Lashocracy Glueless Lashes Dreaming in Blush Self Adhesive Lashes
Angel Face Devil Thoughts
If you like wispy lashes – you’ll love these! These lashes feature a cat eye shape with lots of wisps and a criss cross style. These ones are super fluttery and would also be great for day or night!
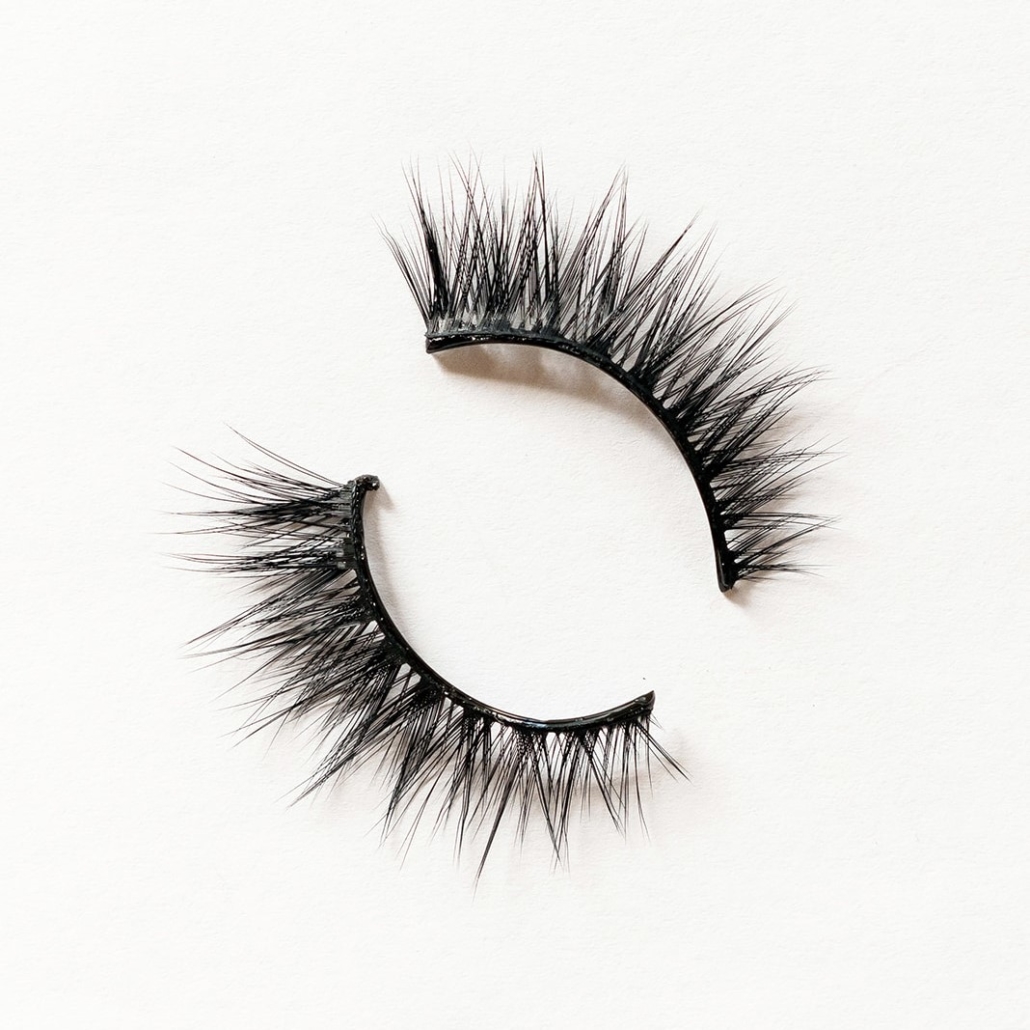
Lashocracy Glueless Lashes Angel Face Devil Thoughts
Lashocracy Glueless Lashes Angel Face Devil Thoughts
Lashocracy Glueless Lashes Angel Face Devil Thoughts
All in all, if you are a lash lover like myself you should absolutely give the new Lashocracy lashes a try! For full descriptions of all of the different Lashocracy styles and to shop click here!
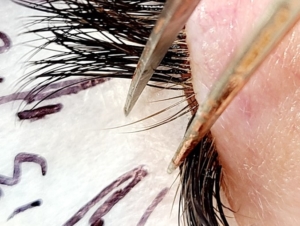


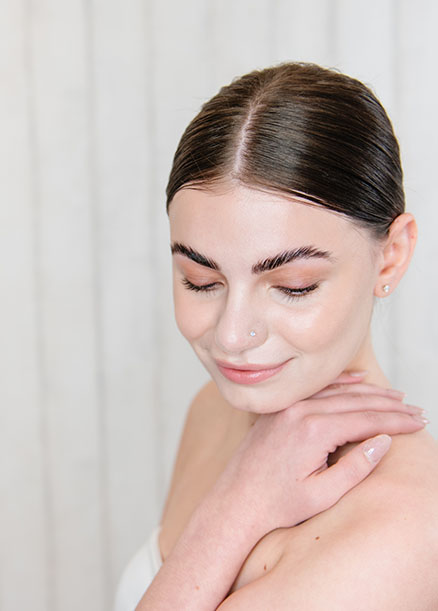
 Above: Volume Lash Extensions. Photo Credit: Bethany Locates @b.gracecreatives